Little black dresses at cocktail parties are 100% classic. Little black dots or lines on your copies are just 100% annoying. Fortunately, the solution is usually fairly simple; requiring some cleaning materials and a bit of elbow grease.
We’ve pointed out in other posts that dust is the enemy of your copier (and scanner).
A very small amount of dust or a speck of grime can easily cause lines, streaks, or smudges on your copies or document scans. If you have an MFP (most likely known as, “the copier” in your office), print a blank page first. If there’s still a smudge, you may have an issue with the print assembly on the copier. Also, don’t forget to check that the lines aren’t from the original.
If none of these simple checks are the culprit, you need to clean the glass. Here’s how.
The Right Stuff
While not complicated, there are a few materials you’ll want to avoid. DO NOT clean with anything abrasive, acetone, benzene, ammonia, ethyl alcohol, or carbon tetrachloride. Also, don’t place liquid directly on the glass, you don’t want it seeping through any cracks and getting into the interior of the equipment.
Use a soft cloth moistened with water, nonabrasive glass cleaner, or lens cleaner. When finished, dry the glass with a soft, dry cloth to prevent spotting.
Clean the Glass
Start off by cleaning the glass on the copier. But you’re not done yet.
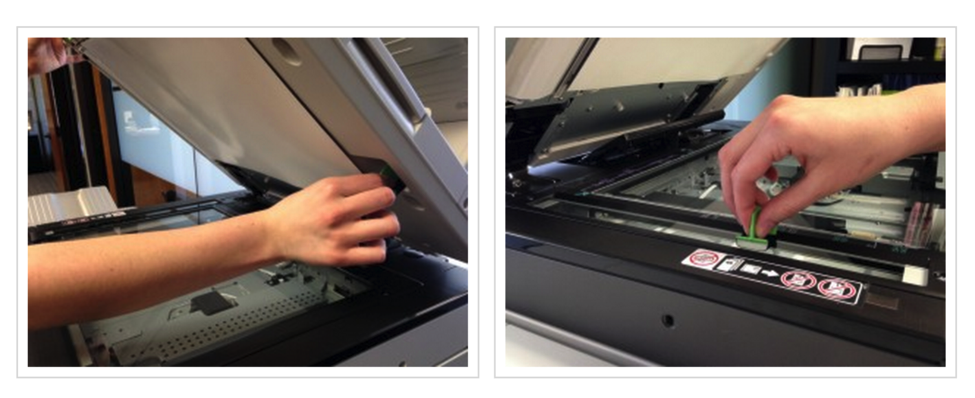
Depending on the type of scanner or MFP/copier you have, there will be a long, narrow strip of glass to the left of the main glass and also on the lid. This is the ADF, as paper moves across this area, over time crud – like sticky note or tape adhesive – can come off of paper onto the glass.
If you clean it and there’s still a line, put a blank sheet of paper in the ADF and mark one of the corners with an X. Make a copy and then place the copy on the glass. The line will align with the location of the debris on your ADF glass.
Tip: shine a flashlight on the glass surface to look for any bumps or sticky spots. For a particularly troublesome spot, carefully scrape with your fingernail. Wipe and then dry again afterwards to remove smudges.
To keep it clean, regularly empty the collection bucket for waste toner if your copier has one. Similarly, if your copier has a slide out knob to clean internal components, do so. And don’t forget to vacuum the paper trays – it’s amazing how much dirt those areas accumulate.
If a simple cleaning of easily accessible areas doesn’t take care of the defects, give us a call so that we can get to the source of the problem. The inner workings of your equipment could be dusty, which requires disassembly or there could be an issue with your equipment.


